|
Thanks to advice from Luca Lutterotti, this tutorial runthrough will go through
taking a 2D Debye-Scherrer film (though this could also be done with
a Guinier film or data from an Image Plate) and converting
it to a 1D diffraction pattern in CIF format.
The Image Manager in Maud can open JPG, Uncompressed TIF and GIF. If using JPG format, saved in the lowest compression possible so you lose the minimum of information using JPG compression. Also, most programs save as compressed TIF as default - so save as uncompressed TIF if you wish to be able to use MAUD to integrate the data.
|
|
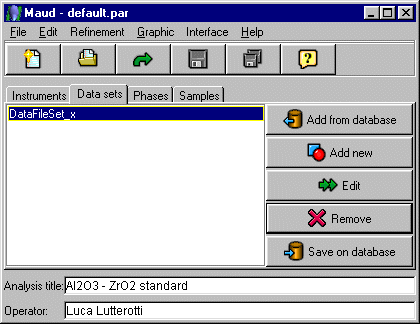
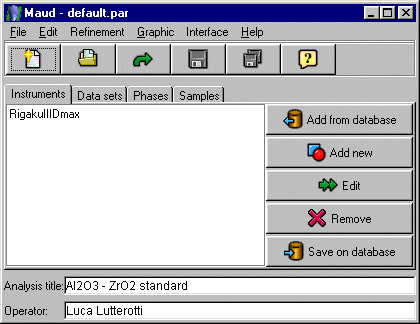
Run Maud to bring up the following screen (in this case from the Windows version)
|
|
Select the Data sets tabpanel
|
|
Delete the existing data set and select the Add New to
add a new data set.
|
|
Using the mouse, select the new Dataset name then Edit the dataset pressing the Edit button.
|
|
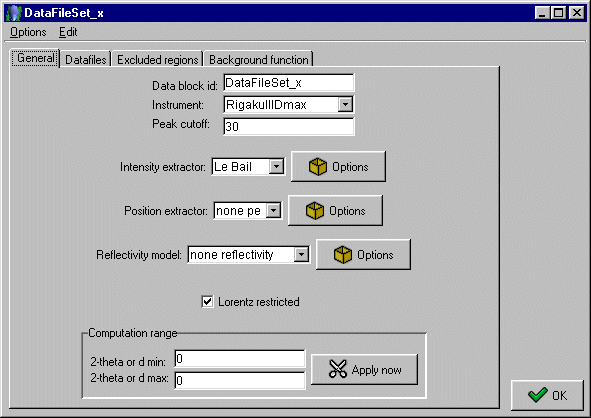
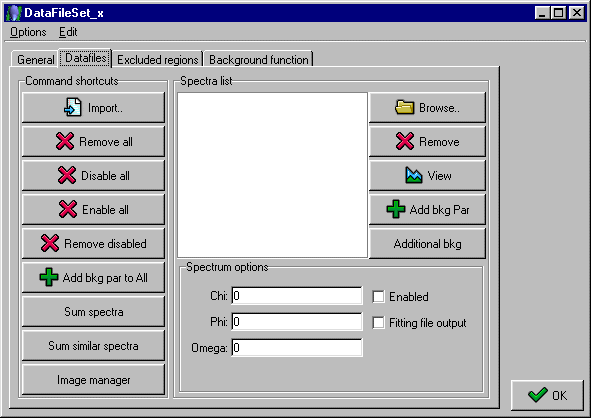
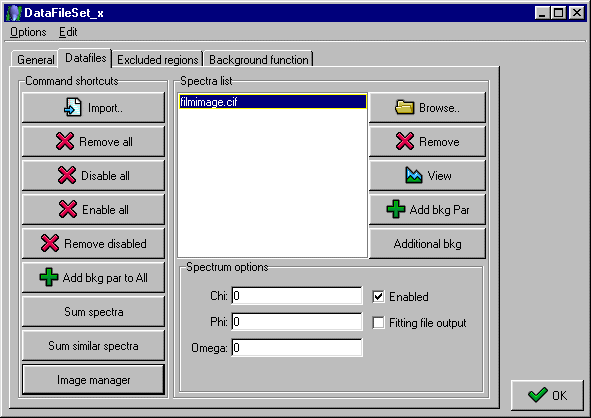
Go to the Datafiles tabpanel.
|
|
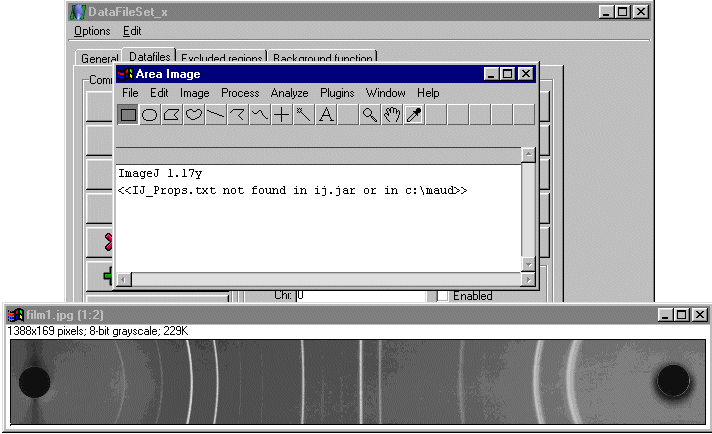
Press the "image manager" button (bottom-left of the panel) to
bring up the "Area Manager".
Then from the "Area Manager" window, select File, Open and browse to open the image data of interest.
|
|
In the image, click and drag the mouse to select the area you want to analyse
(for the Debye-Scherrer film the advice is to select from the center of one hole
to the center of the other, so you have two points of which you know exactly the
corresponding 2-theta required by the program)
|
|
After selection choose from the menu Analyze, Plot Profile
and a window will appear containing the spectrum
(if the image was a negative better to first use the command Edit, Invert that works only for gray scale; conversion from color to gray scale can be also performed)
|
|
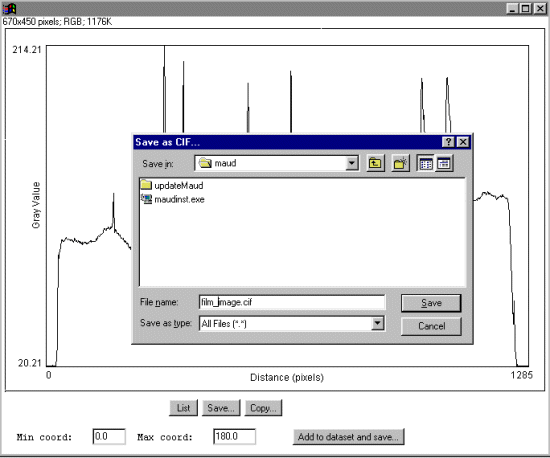
On the window with the spectrum put the correct Min coord and Max coord in the units
you want to use. For the film example if you selected between the two holes put
0 and 180 (degrees) and press the button "add to dataset and save".
The program will ask for a file name and will save a CIF file containing the 2theta
coord from Min to Max with a step equal to (Max - Min) / (number of pixels +1).
|
|
In the image manager, on selecting File, Quit, the spectrum will "also"
be added to the Maud dataset on which you can continue a Rietveld or other analysis
supported by Maud.
|
|
In the image manager, on selecting File, Quit, the spectrum will "also"
be added to the Maud dataset on which you can continue a Rietveld or other analysis
supported by Maud.
From Luca Lutterotti:
Following is what part of the resulting CIF file looks like. The step width depends on the range you chose, and the number of pixels - in this case a step width of 0.140296.
_pd_meas_number_of_points 1284
_riet_meas_datafile_calibrated true

loop_
_pd_proc_2theta_corrected
_pd_calc_intensity_total
 0.00000000 21.0000000
 0.14029618 21.0000000
 0.28059236 21.0000000
.
.
.
.
 179.438815 21.0000000
 179.579111 21.0000000
 179.719407 21.0000000
 179.859703 21.0277786
 180.000000 20.9722213
|